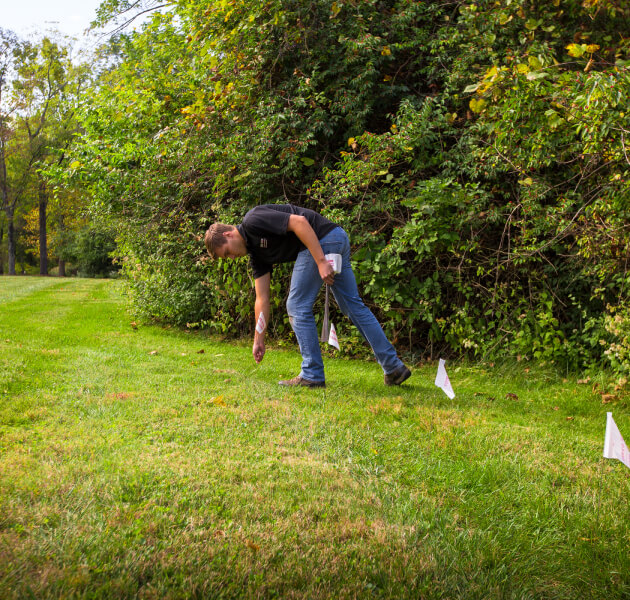
Find Professional Dog Fence Installation Services Near You
Our trusted, authorized installers make your installation a breeze. Enter your location to connect with a professional near you.
Find an InstallerHow Our Installation Service Works
Enter Your Zip Code:
Find your nearest authorized installer.
Schedule Your Installation:
Connect with a professional to set up your service.
Enjoy Peace of Mind:
Your dog stays safe with expert-installed fencing.

Why Choose a Professional Installer?
- Accurate layout and coverage for your property.
- Expert installation for long-lasting durability.
- Training tips to ensure your pet stays safe.

Fencing Installation Overview
Installing your Pet Stop system involves four steps that our skilled Pet Stop Dealers are happy to explain in more detail. They’ll get you started from day one by assisting you throughout the process.
Your Pet Stop dealer will:
- Bury the boundary wire in the location where you and your dealer agree will work best.
- Install the signal transmitter in a convenient location.
- Fit and customize your pet’s receiver with the program that’s best for you and your pet’s breed, personality and disposition.
- Perform the initial training session to ensure your pet is properly introduced to their new system.
The Installation Process
Burying the Boundary Wire
The boundary wire is typically buried a few inches below the surface. This wire receives and transmits a harmless digital radio signal from the transmitter encoded, so it doesn’t interfere with your neighbor’s system and theirs will not interfere with yours. The wire is installed around the entire area in which you want to contain your pet.
Placing the Signal Transmitter
The radio signal transmitter is typically located indoors near an electrical outlet, where it can be easily attached to the boundary wire.
Programming and Fitting the Receiver
Programming and fitting your pet’s receiver properly is essential. Your Pet Stop Dealer is trained to fit the collar to your pet and adjust the correction level to accommodate your pet’s unique habits and personality.
Performing the Initial Training Session
Training is a crucial part of the Pet Stop method. Different breeds and personalities require different approaches, and your dealer is qualified to custom tailor every training session to ensure the smoothest transition possible for your pet.
Need Additional Help?
Have questions? Use the QR code for step-by-step guidance, live chat support, and more.
Please call us with any questions at
800-305-6116 or email us at support@pe-tech.us.
 Pet Stop
 Get a Free Quote
Connect with Your Local Pet Safety Experts at Pet Stop. Visit, call, or
chat with us – we’re here to help you create the ultimate safe haven for your pet.
Get a Free quote
Name *
Zip code where new fence is required *
What breed is your dog?
Preferred contact method *
Phone Number to Call/Text *
Address *
Stay Connected, Stay in Control
Brief introduction to the OT-300, highlighting remote control, real-time notifications, and easy setup through the Pet Stop Link App.
Download the App